Use Klipfolio to Track Your Twitter Data

Published 2023-07-20
Summary - One of the things that has often been requested of Klipfolio is getting historical data for a Twitter handle/account. This blog goes over how you can start tracking it with a paid service, like Quintly. Alternatively, you can try out our brand new Metrics which stores historical data.
* 2019: We now have PowerMetrics! Metrics can store your historical Twitter data, in an easier way than this! But, if you're adamant to stick with Klips, read on...
One of the things that is often requested but we've always had trouble with is getting historical data for a Twitter handle/account.
The reason? Twitter Analytics does not make historical data available via its API. In order to get this data in any dashboarding service, you would need to use a paid service.
With a bit of a workaround, however, you now have the ability to track this information in a Google Sheet or with PowerMetrics!
The following example details how you can set up a Klipfolio datasource to track the Followers, Friends, Listed, and Favorites count for a Twitter handle daily in a sheet that looks like this:

For this to work you will need:
- A valid twitter account
- A valid Google account
- Access to your Klipfolio API key
Unfortunately this does not go backwards to get previous account data - you can only start tracking from the time you set it up onwards.
1. Set up the Twitter datasource
First, you will need to set up your Klipfolio datasource. This is the actual datasource that retrieves the information from Twitter.
To get stared, create a new datasource and from our Connector Gallery, select Twitter.
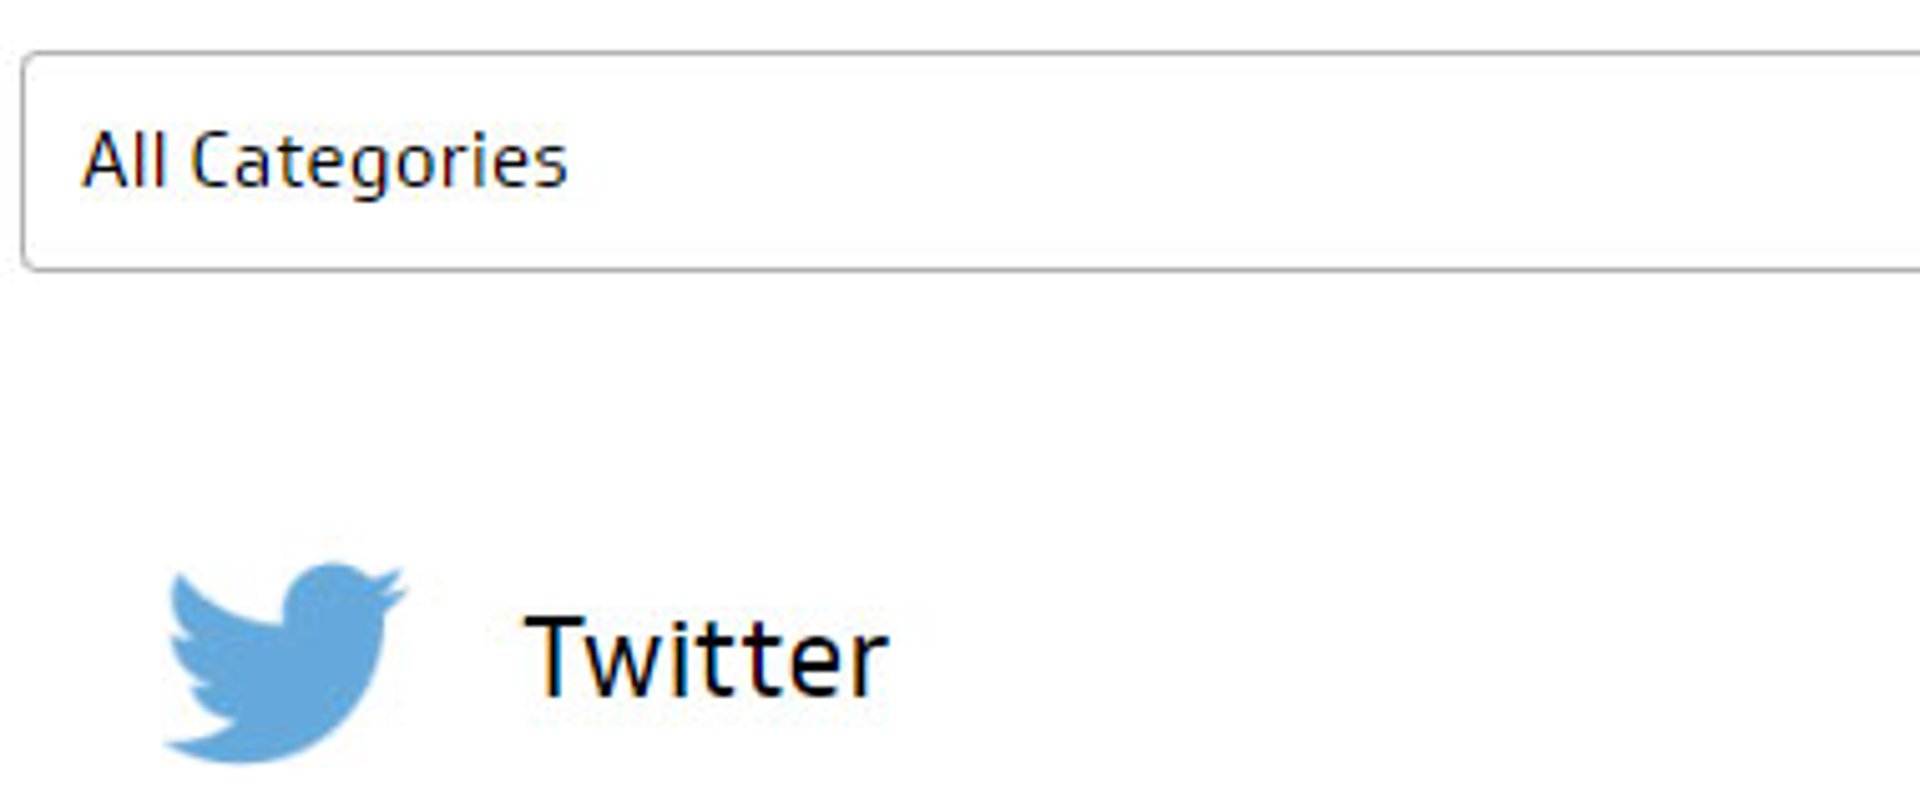
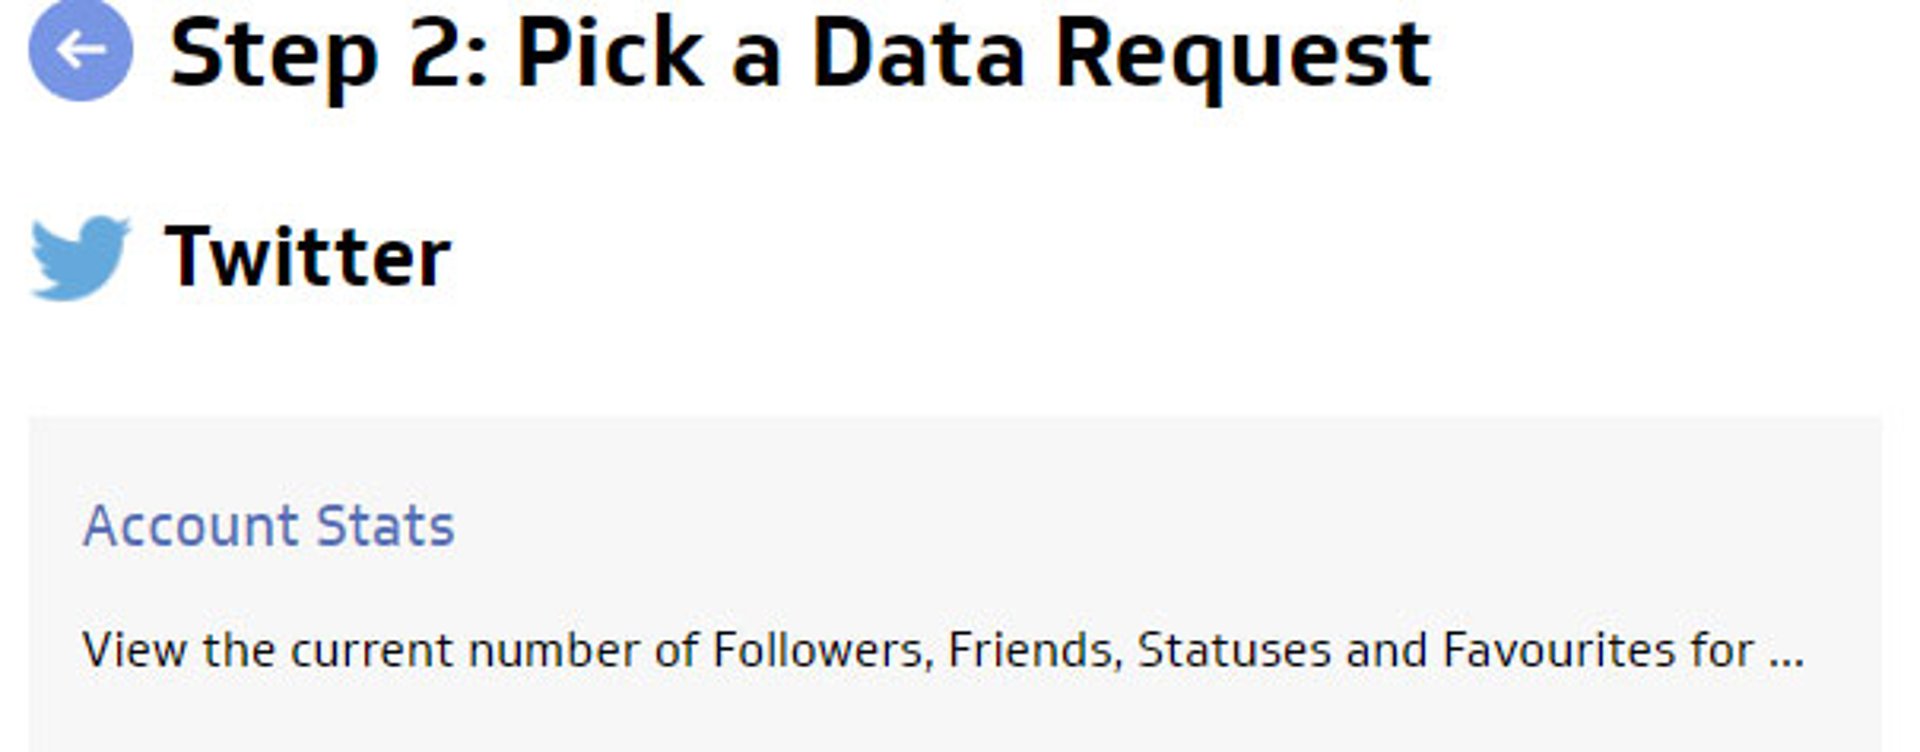
For this section, pick Account Stats (either one).
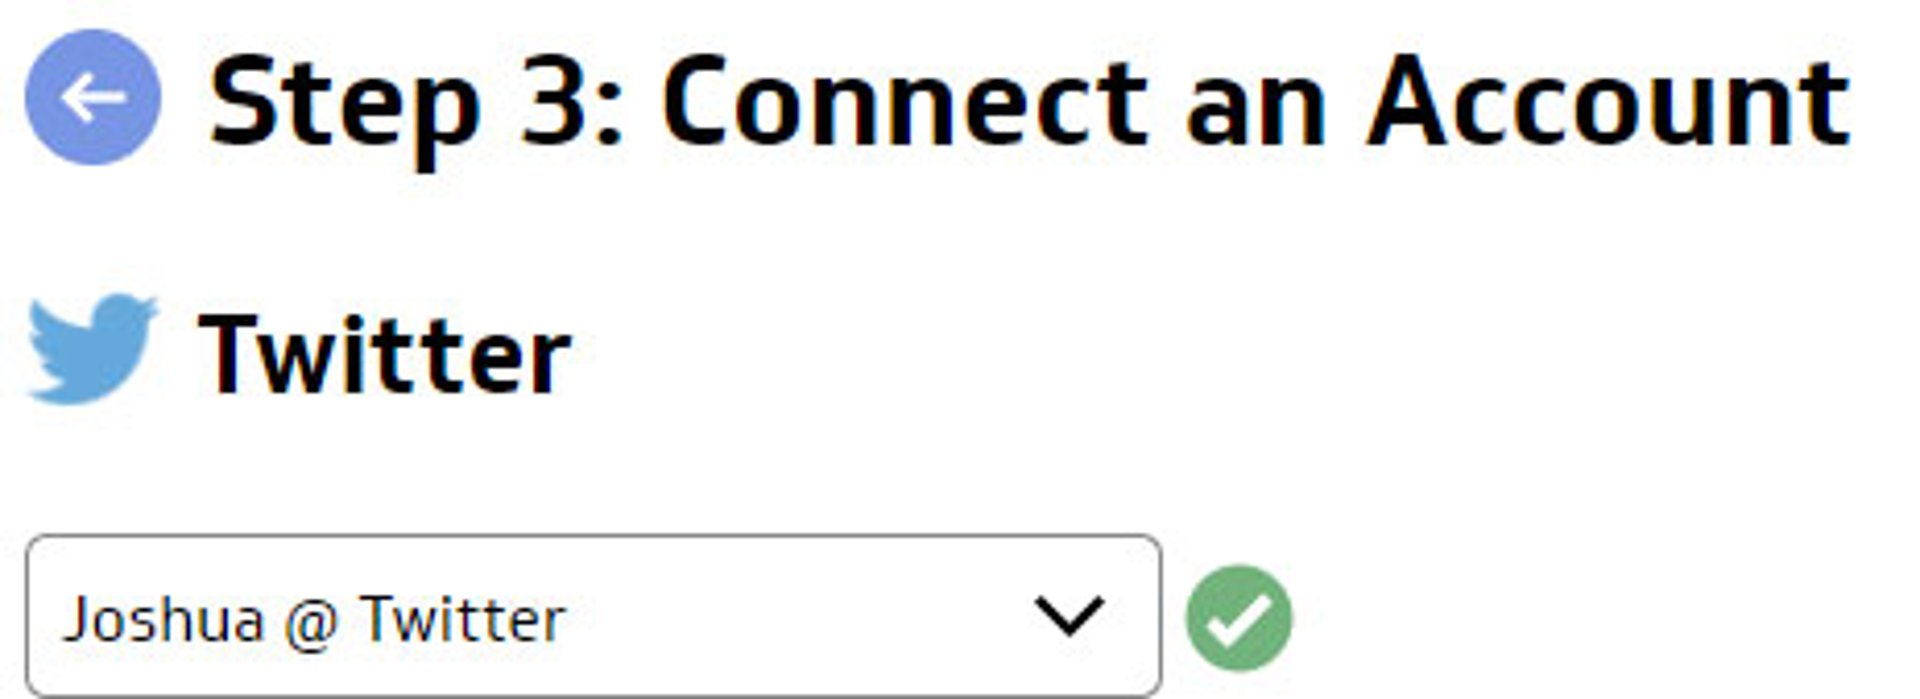
Select a valid twitter authentication token, or create a new one.
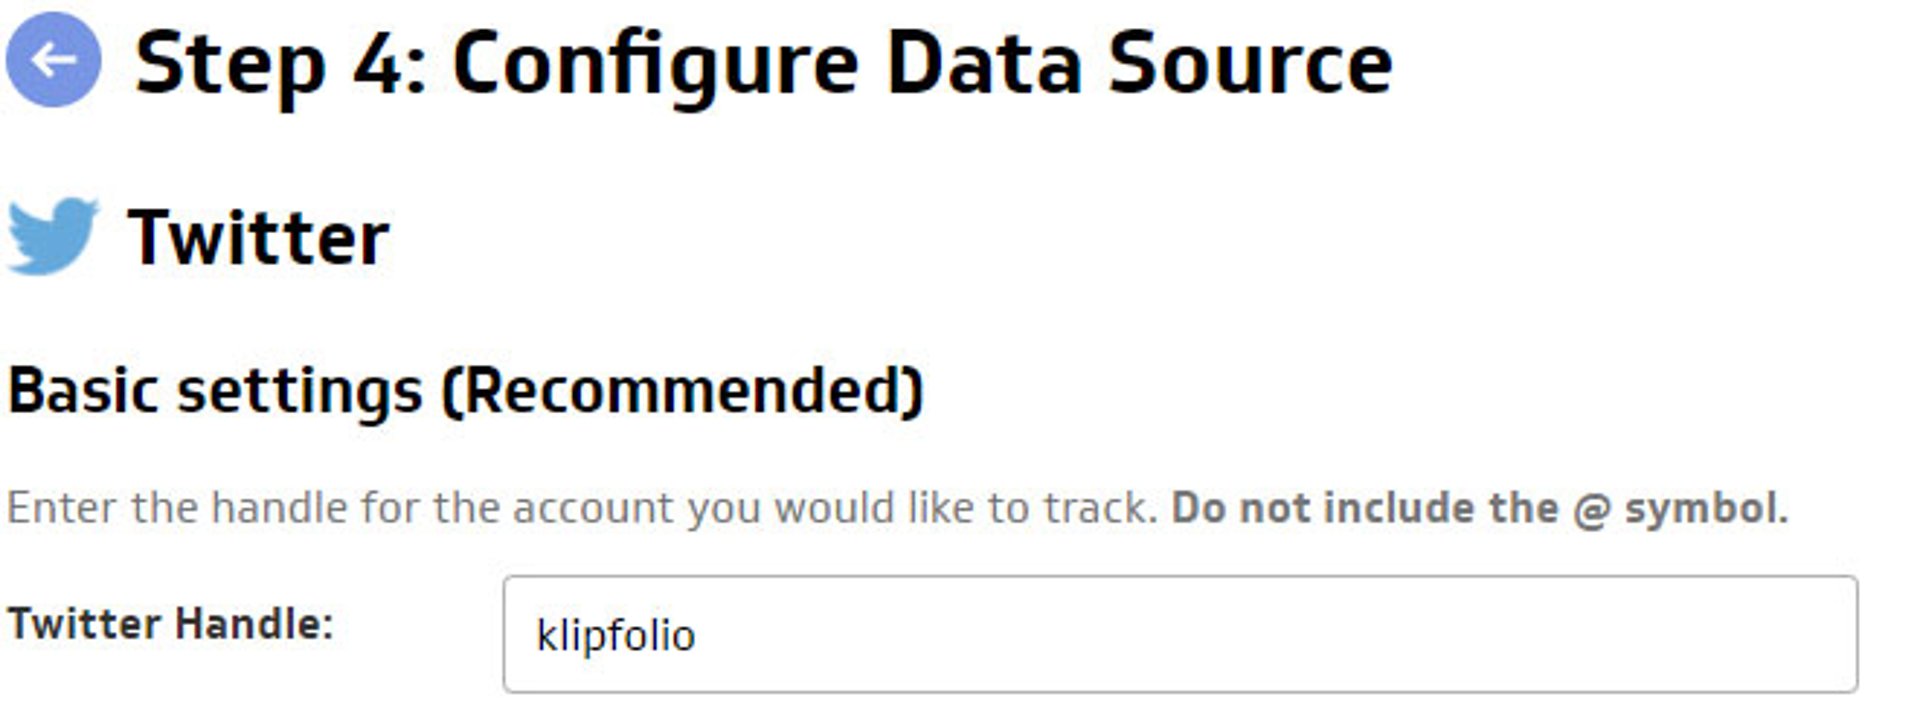
On the next page, enter the Twitter Handle that you wish to track. You can keep the query in basic mode.
If you are using custom mode, this is what the query would look like:

Click 'Get Resource', then once the data has been loaded, continue to name and save the outsource. The refresh interval here is irrelevant, as the next steps will refresh the datasource for you.
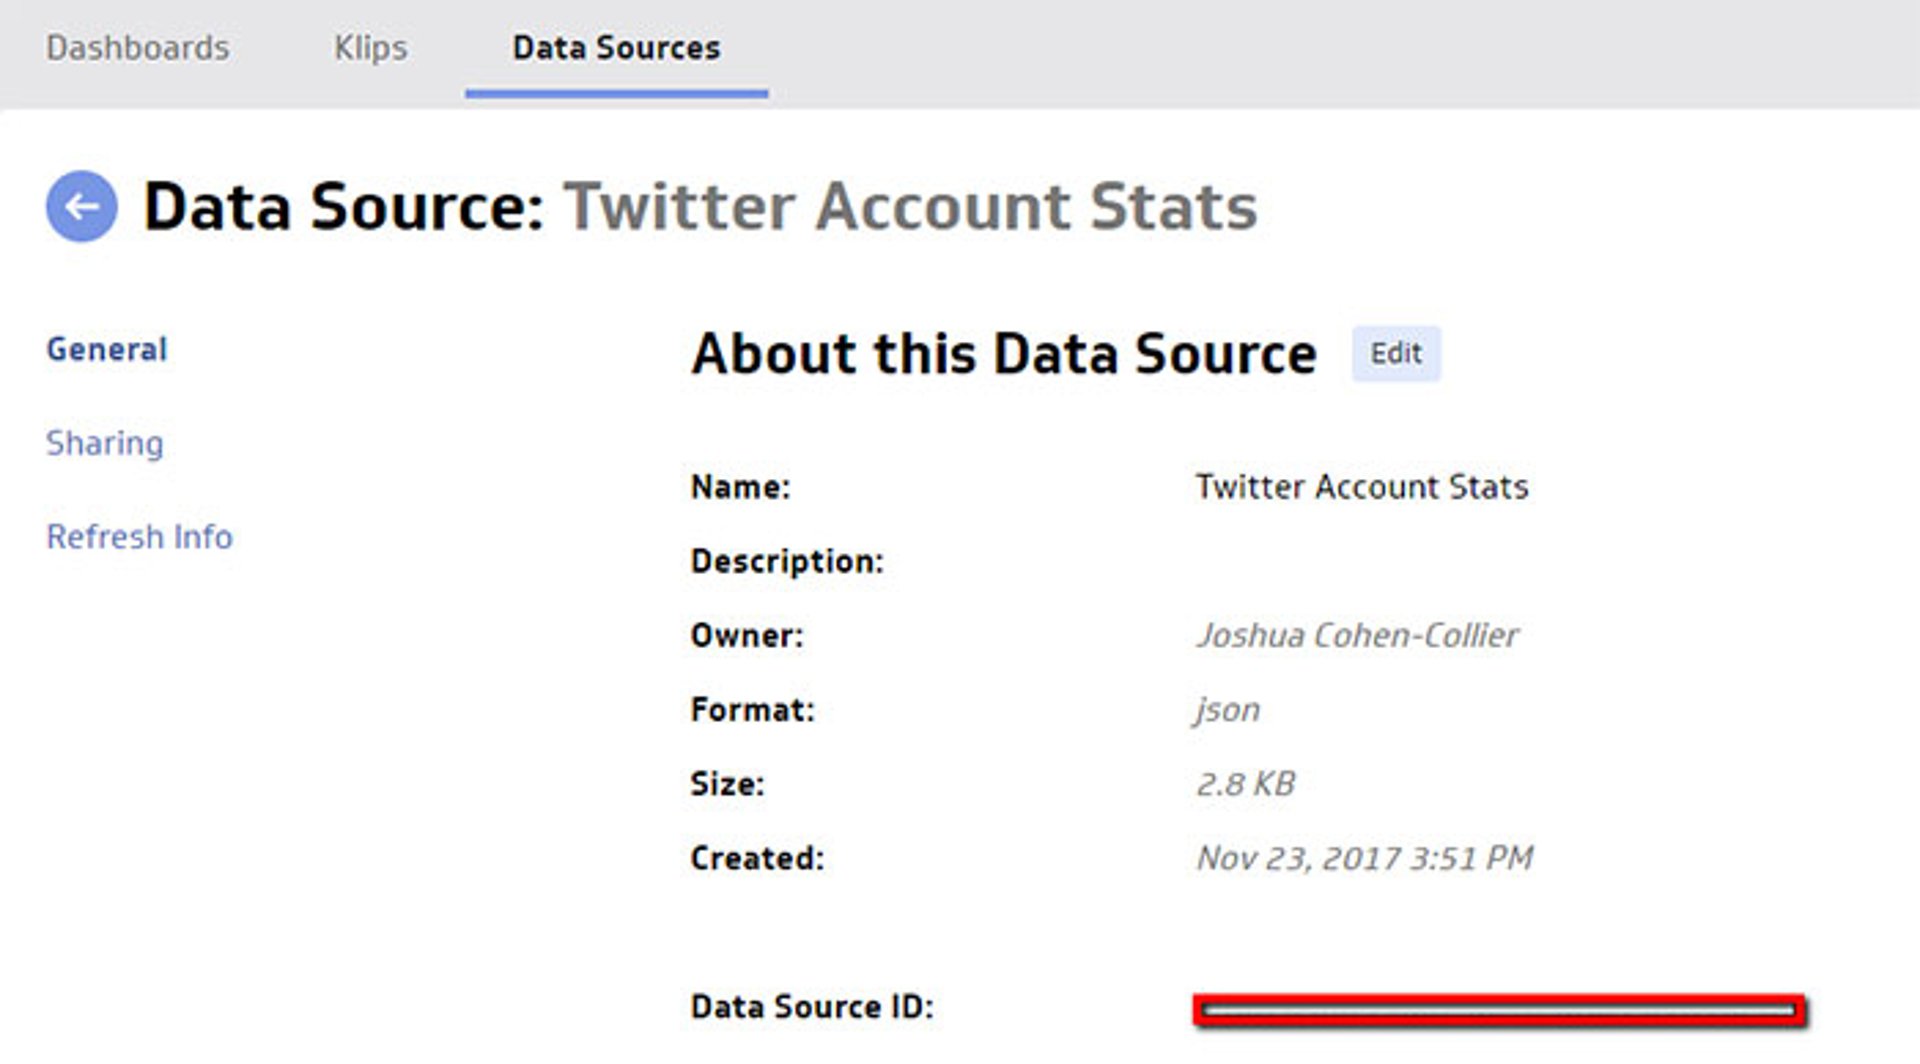
Finally, once you have your datasource, make sure to keep track of the datasource ID, highlighted below, which we will need later.
2. Get the Klipfolio API key
You will need a Klipfolio API key to allow you to refresh the Twitter datasource, and to grab the data from it that is pushed to the sheet. You can follow the steps outlined here to get your Klipfolio API key. Keep this API key handy, as we will need it soon.
3. Set up the Google Sheet
To create the actual Google Sheet that you’ll be putting the historical information into, log in to Google Sheets and start a new one:
Set up the sheet with the following headers:

4. Set up the Script
Now that you have a Google Sheet to push data to, you’ll need a script that actually does the pushing of the data. Never fear, we have already created this script for you - the only thing you need to do is copy and paste.
To get to the script, go to Tools -> Script Editor:

Here you will copy and paste the code supplied at the bottom of this post. There are two sections where we need to adjust the code. Near the top of the code, replace XXX with your Klipfolio API key (see step 2 above) and replace YYY with ID of the Twitter datasource you created (see step 1 above).

5. Set up the Trigger
To set up the trigger that runs the script once a day, first, save your script.
Next, set up the trigger:
At this point you may be asked to enable permissions to run your script.

You can simply sign in to your Google account, and click 'Allow'.
Once this is done, you can set up the timer to go once per day, at whatever time you wish:

Now, every day our Google Sheet will be automatically updated with the information from the twitter account we are tracking.
6. Connect Klipfolio to your Google Sheet
The final step is to create a new datasource in Klipfolio, connecting to the Google Sheet you just created. Start off in our Connector Gallery and select Google Drive.
Then, follow these instructions to get your Google Sheet into Klipfolio as a datasource you can use.
If you are having any issues with the datasources not working, check to see if either of the datasources you are using is encountering an error. You may need to periodically re-authorize one or both of the authentication tokens.
Hope this helps out!
Best regards,
Joshua Cohen-Collier
Technical Support Engineer, Klipfolio
Code to paste into Script Editor:
/*
Gets the followersCount,friendsCount,listedCount and favouritesCount from a twitter datasource, and posts it to a linked Google Sheet.
*/
function trackAccount() {

var apiKey="";//Enter your API key here
var DSID="";//Enter your twitter datasource ID here

var sleepTime=4;//Number of minutes to wait before checking datasource

var sheet = SpreadsheetApp.getActiveSheet();//Get sheet this script is linked to

//Refresh datasource first
var URL="https://app.klipfolio.com/api/1.0/datasource-instances/"+DSID+"/@/refresh";
var options = {
"async": true,
"crossDomain": true,
"method" : "POST",
'muteHttpExceptions': true,
"headers" : {
"kf-api-key" : apiKey,
"Content-Type": "application/json"
}
};
var response = UrlFetchApp.fetch(URL, options);

//Get date this was sent
var d = new Date(),
month = '' + (d.getMonth() + 1),
day = '' + d.getDate(),
year = d.getFullYear();
if (month.length < 2) month = '0' + month;
if (day.length < 2) day = '0' + day;
var rowDate=[year, month, day].join('-');

Utilities.sleep(sleepTime*60000);// pause in the loop for specified number of minutes, so as to avoid datasource not being refreshed when we update

//Get Datasource data query settings
URL="https://app.klipfolio.com/api/1.0/datasource-instances/"+DSID+"/data";
options = {
"async": true,
"crossDomain": true,
"method" : "GET",
'muteHttpExceptions': true,
"headers" : {
"kf-api-key" : apiKey,
"Content-Type": "application/json"
}
};

//Run API query
response = UrlFetchApp.fetch(URL, options);

//Check for errors
if (response.getResponseCode()!==200)
{
return;
}

//Get text of response
var responseText=response.getContentText();

//Get followers count
var followersCount=responseText.substring(
responseText.indexOf('followers_count')+17,//start index
//^above number + index of , insto substring starting at above number
responseText.indexOf('followers_count')+17
+
responseText.substring(responseText.indexOf('followers_count')+17).indexOf(',')
);

//Get friends count
var friendsCount=responseText.substring(
responseText.indexOf('friends_count')+15,//start index
//^above number + index of , insto substring starting at above number
responseText.indexOf('friends_count')+15
+
responseText.substring(responseText.indexOf('friends_count')+15).indexOf(',')
);

//Get listed count
var listedCount=responseText.substring(
responseText.indexOf('listed_count')+14,//start index
//^above number + index of , insto substring starting at above number
responseText.indexOf('listed_count')+14
+
responseText.substring(responseText.indexOf('listed_count')+14).indexOf(',')
);

//Get favourites count
var favouritesCount=responseText.substring(
responseText.indexOf('favourites_count')+18,//start index
//^above number + index of , insto substring starting at above number
responseText.indexOf('favourites_count')+18
+
responseText.substring(responseText.indexOf('favourites_count')+18).indexOf(',')
);

//Write to sheet
sheet.appendRow([rowDate, followersCount,friendsCount,listedCount,favouritesCount]);

}
Related Articles

How to Build Google Analytics 4 Dashboards in Klips
By Jonathan Taylor — June 6th, 2023
How to use the Google Analytics 4 Query Explorer to export data
By Jonathan Taylor — June 1st, 2023
What are HubSpot lifecycle stages?
By Jonathan Taylor — March 14th, 2022

